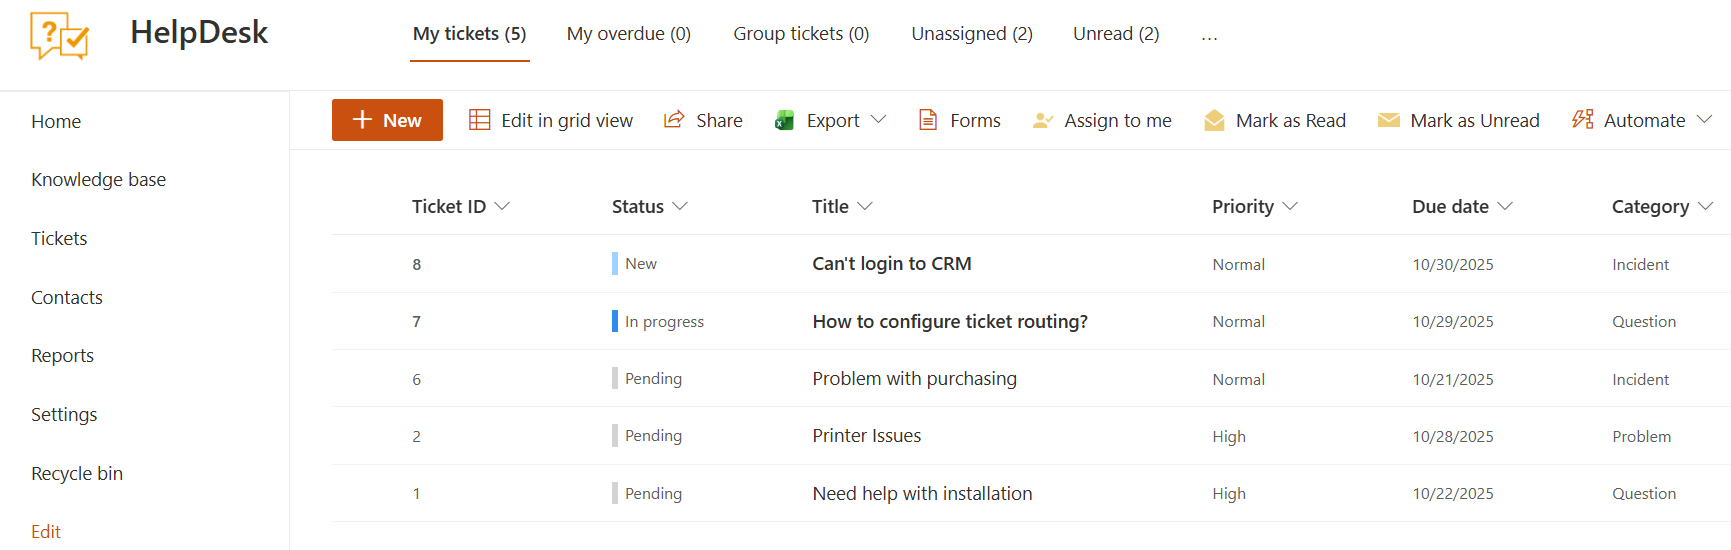
Home page
This is the home page where agents process their tickets. This section contains tickets that are related to the current agent only. Navigate to the home page using the navigation bar.
Home views
You can navigate to several built-in views using the links in the home navigation bar at the top of the page. A counter of tickets is displayed to the right of each link.
All new and updated tickets are automatically marked as unread and highlighted in bold.
Note
Unread tickets are displayed as unread for the assignee only.
Here is the list of built-in views:
Name |
Description |
|---|---|
My tickets |
All tickets assigned to you. (Tickets where you are specified in the “Assigned to” field). |
My overdue |
Tickets assigned to you with a Due date before today. |
Group tickets |
Tickets assigned to SharePoint groups that you belong to. (You can assign tickets to SharePoint groups, e.g., ”IT Support”). |
Unassigned |
All tickets with an empty “Assigned to” field. |
Unread |
All unread tickets assigned to you. |
Resolved tickets are not displayed in any of the home views.
To the right of the links at the top, there is a search bar. You can use it to navigate to a ticket by its ID or to find tickets using specific keywords.
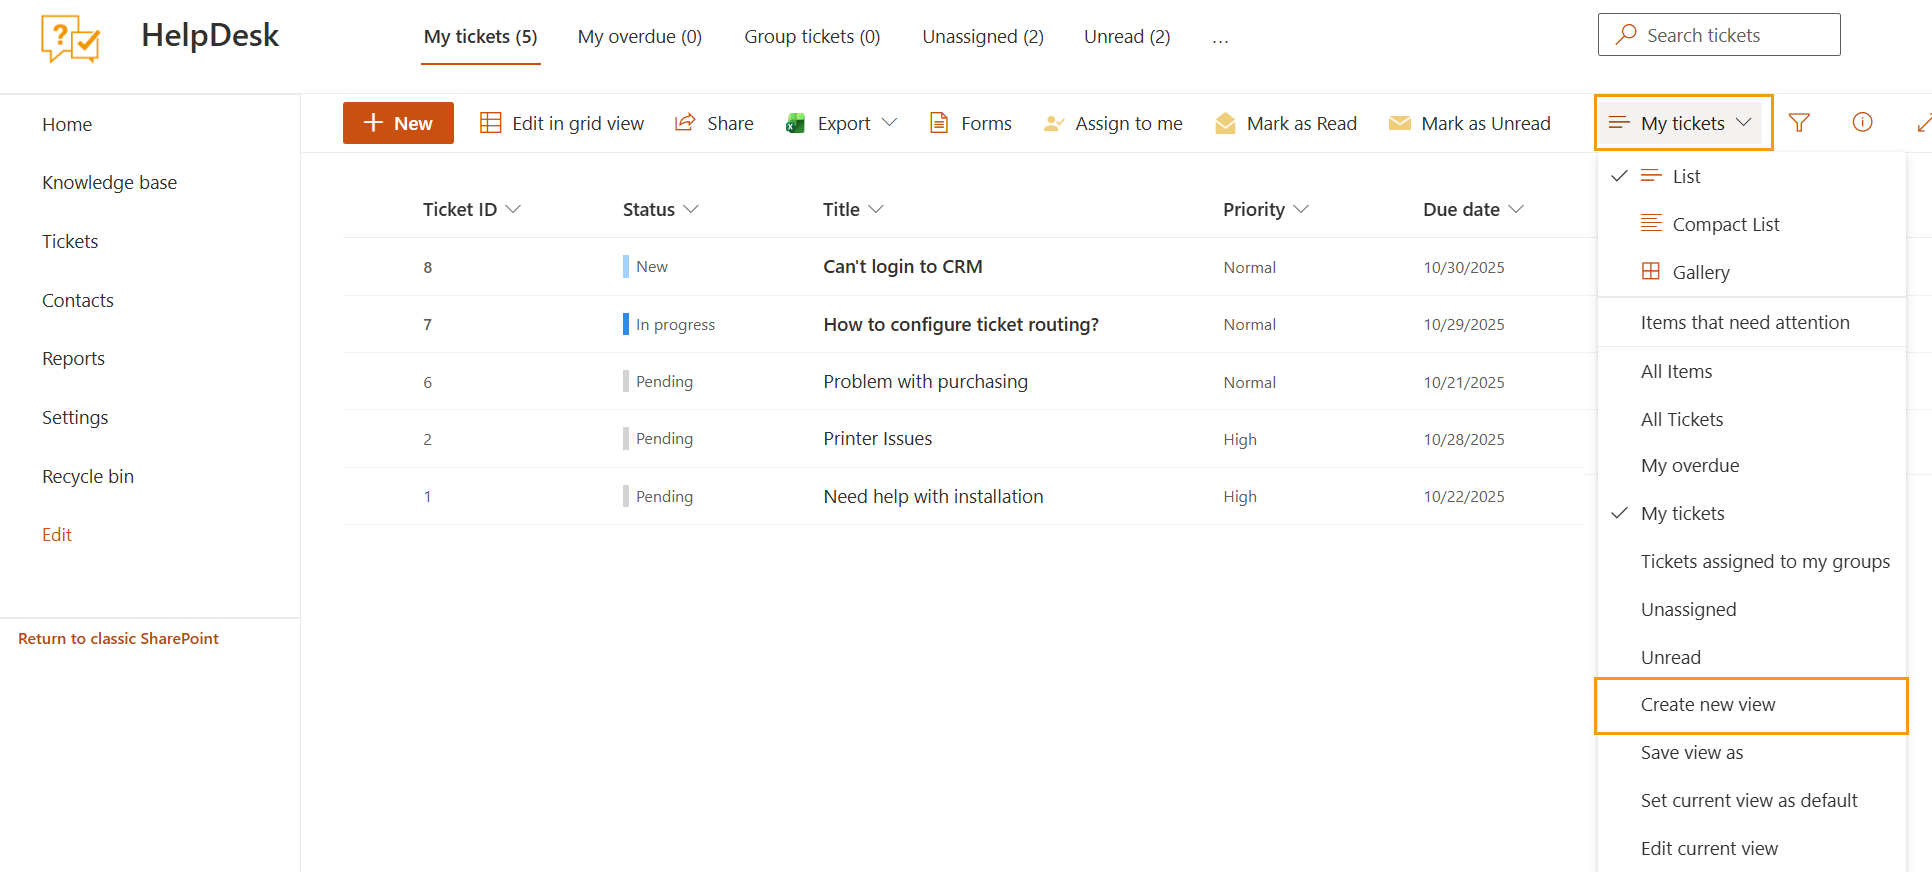
How to add a new view
You have several standard SharePoint ways to create your own custom view. To simplify your work, we added this option to the home navigation. Just click “My tickets“ button in the home navigation and select “Create new view”. All views you created are displayed in this drop-down menu.
Note
Read more about managing HelpDesk views.
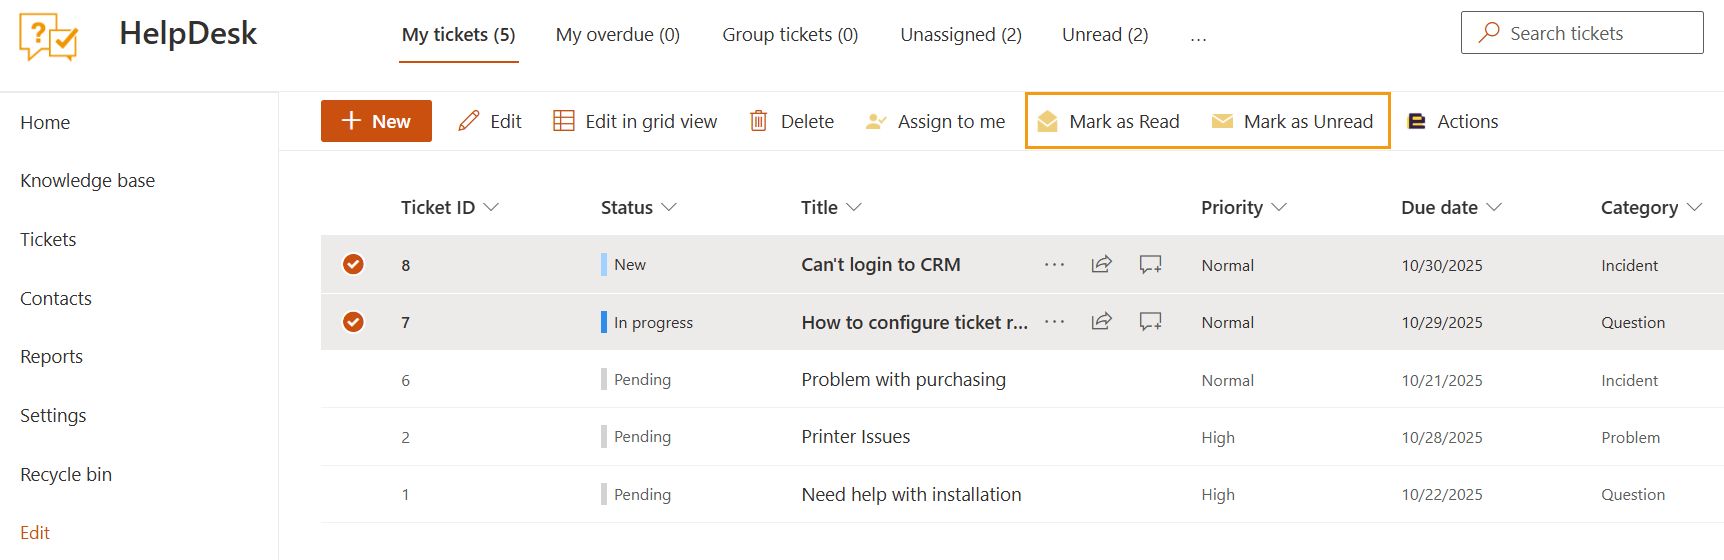
Mark tickets as read or unread
When a ticket is created or updated, it is marked as unread for the assignee. All unread tickets are displayed with bold typed titles and IDs in “My tickets”. There is also a separate “Unread” view, where the agent can see all unread tickets.
You can mark tickets as read or as unread manually. Select single or multiple tickets in the view and click the “Mark as Read” or “Mark as Unread” button in the ribbon.